So I have tonnes of filo pastry sheets... and they're expiring soon. Like, real soon. I needed something easy to make with them, and I needed it like super fast.
Aaaaand so it happens that I stumbled upon some pics of egg tarts today. Yummy, eggy, 'healthy', sweet, smile-erupting egg tarts. All together now, MMMmmmMmmm. :)
I searched high and low for egg tart recipes that happen to use filo, but alas, none was conjured up by Google. This, of course, calls for an experiment by yours truly! :P
So after compiling a few egg tart recipes to find a reasonable/rational experimental recipe (and taking whatever I have in my cupboard into consideration), here's what I managed to come up with:
Sweet Filo Egg Tarts
Makes 18 tarts (using medium-sized cupcake pans).
Ingredients
- Filo pastry
- 220ml hot water
- 80g white sugar
- 1/4 tsp salt
- 3 eggs
- 80ml milk
- 1/4 tsp vanilla extract
Instructions
- Preheat oven at 180 C
- Dissolve sugar & salt in hot water. While waiting to cool, continue with #3
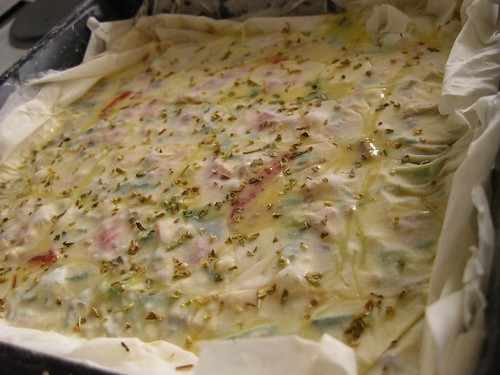
- Prepare filo:
- Cut filo into desirable size and layer about 8 of them in each cupcake hole.
- Butter the edges of the stacked pastry to avoid them from getting too flaky.
- In a bowl, whisk eggs until thick and creamy, then add milk. Continue to whisk until combined.
- Add sugar+salt solution gradually and then some vanilla essence. Continue whisking. It will turn quite runny, that's fine.
- Scoop the mixture slowly into the prepared filo pastry.
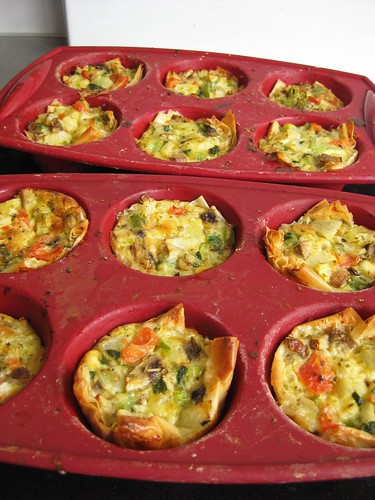
- Bake for 20 minutes or till the edges of the filo is brown and the filling is set.
- Let cool before serving.
Results?
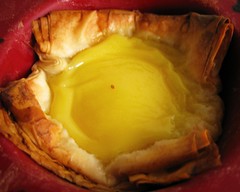
simple and plain
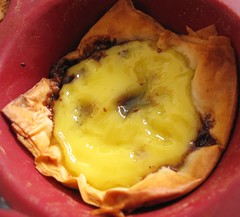
with choc chips
(added last, right before baking)
(added last, right before baking)
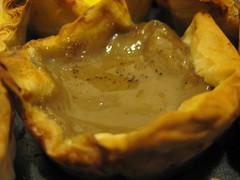
with powdery choc drink
(added last before baking)
(added last before baking)

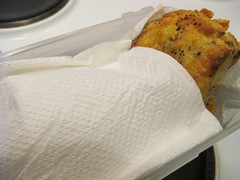
yup, crispy pastry. :)
Haha they're not the prettiest things in the world, but they taste alright.
Good luck and have fun trying them out!